
Using View Data
The multi-function View Data grid provides real-time access to your Data Collector data and provides the following functionality:

1. Add Record
Add Record allows for the creation of a record via AppCan Cloud. You can also bulk upload records from a spreadsheet.
2. Views
Views allow you to create multiple different views for the same Data Collector app. These views saves the grid with any applied filters, column positions, column widths etc.
Configuring ‘Views’
- Set your view as required, applying any filters, columns, column positions, column width etc.
- Once you are happy with your view layout, select the hamburger icon to the right of the ‘ Views’ dropdown.

Select + Add to create your view.
The Create View modal is shown.

Enter the required View Name. By default, views are only visible to yourself. A Super User can create a Global View, available to all users, by selecting the Global View checkbox.
Selecting the hamburger icon again allows you to ‘Update’, ‘Delete’ or ‘Reset View’
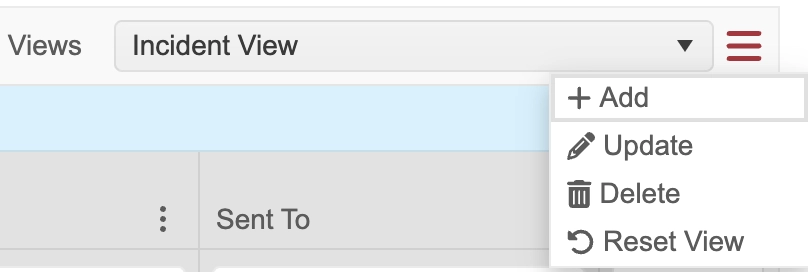
- You can ‘Reset View’ which will reset the view to the default view. Filters are removed, column positions, column widths etc return to the default view.
3. Column Options
Column Options also provides additional functionality to ‘Autosize’ either the selected column, or all columns.
4. Checkbox
The checkbox is fixed at the left-hand side of the grid and is used for selection of a record for printing, deletion, Maps and sending record(s) to a mobile user.
5. View
View provides a full view of the record in a modal popup, where you can add or update data and print as PDF.
6. Filters
The Filters option allows you to filter records to your requirements. Multiple filters can be applied.
The multi-functional data grid offers the following filters, accessed below each column title, to help you refine your data:

- Text / Note field Search
- Under the applicable column header, enter the complete text string (or any part of it) to search for all records that match the specified text string.
- Drop Down
- Tap/click on the drop-down to reveal the complete list of responses to filter on.
- Check the applicable response(s) then tap/click anywhere outside of the list to apply the filter.
- You can select one or more options from the dropdown.
- You can also select ‘Blank’ to filter on records where an entry hasn’t be made.
- Dates
- Select the calendar icon and select the required date.
- Date Range: Select the funnel icon and choose the start and end date range. Click on Apply to set the date range.
- You can also select ‘Blank’ to filter on records where an entry hasn’t be made.
- Date & Times
- Select the calendar / clock icon and select the required date time.
- Date Range: Select the funnel icon and choose the start and end date range. Click on Apply to set the date range.
- You can also select ‘Blank’ to filter on records where an entry hasn’t be made.
Clearing Filter(s)
To clear filter(s), select the ‘Clear Filters’ button at the bottom of the screen.
If multiple filters have been defined, selecting ‘Clear Filters’ button clears all of them at the same time.
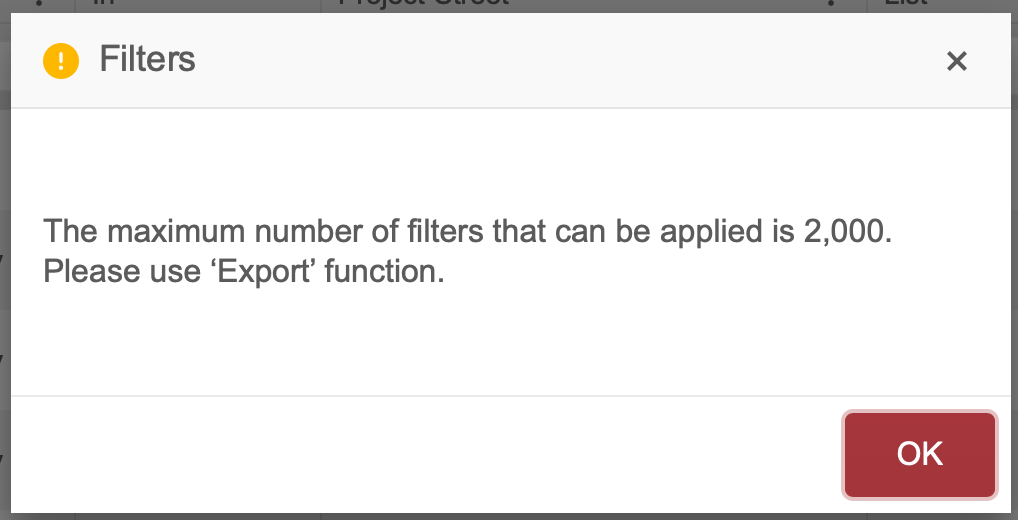
Filter Limits
If you are filtering a column that has over 2000 options, the following message will be shown when ‘Select All’ is chosen. We recommend you export the data for further analysis.
7. Rows per Page
Rows per Page allows you to set how many rows of data are visible in the grid before paging is used. The grid supports a maximum of 100 rows and on loading of a Data Collector app a maximum of 25 rows are shown to the user.
8. Expand Grid
Expand Grid option allows you to expand the grid to full browser window screen.
At the bottom left of the grid you can select the ‘Expand Grid’ icon.

This enlarges the grid to provide you with more real estate to analyse your data. The grid will enlarge to the full size of your browser window.
Clicking on the icon a second time returns the grid to the standard layout.
9. Exports
You can export your data based on your Views layout. You must ensure you Save / Update any changes made to your View before exporting.